how to adjust color and light on a photo
|
|
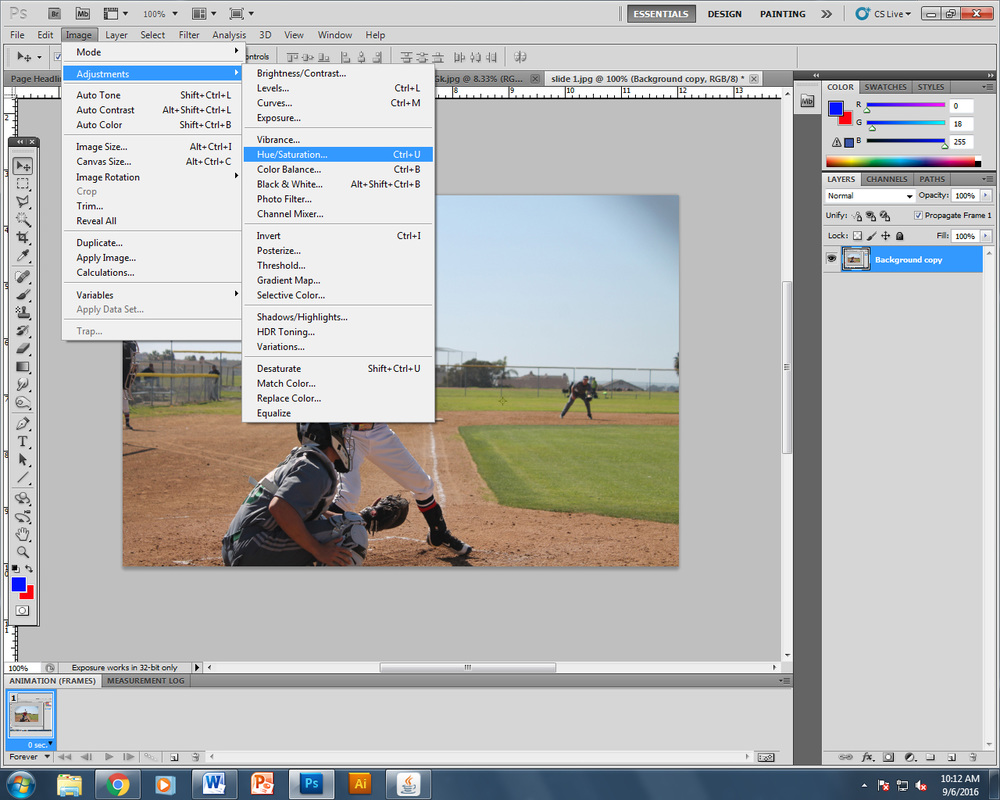
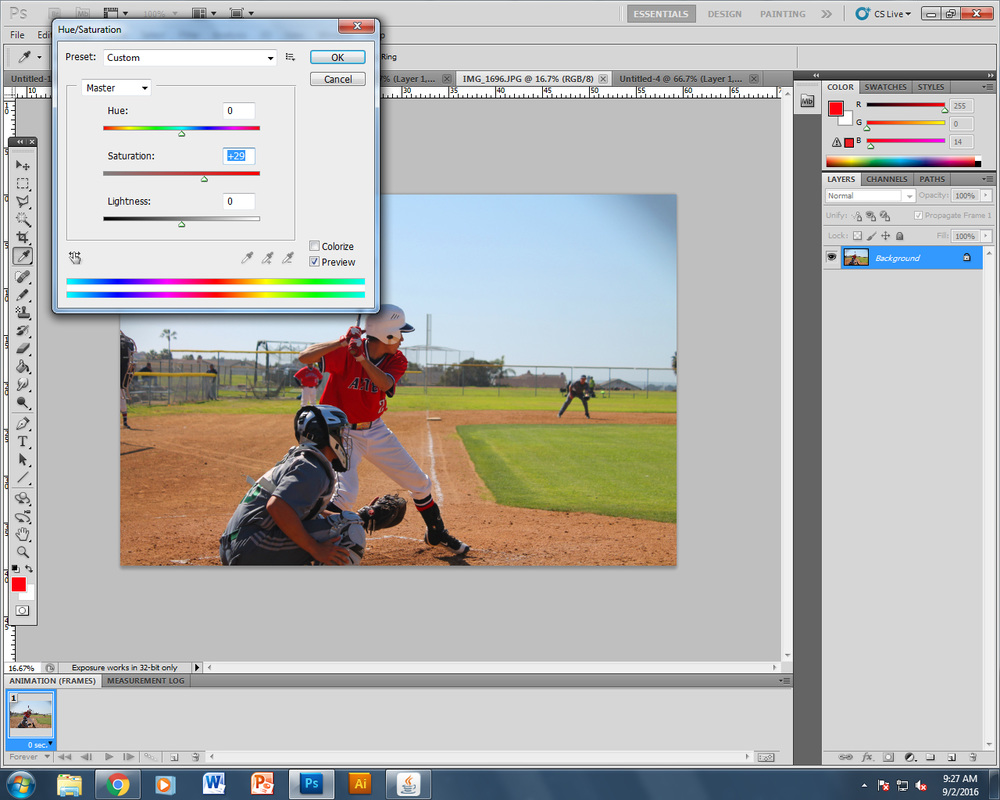
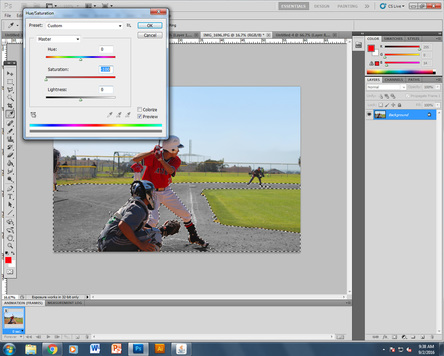
STEP 1: If the color or the saturation of the photo needs to be adjusted: Look at the toolbar at the top of the page and select Image > Adjustments > Hue Saturation . Adjust the settings however you want.
Hue=color. To change the hue of the picture is to shits the colors of the photo.
Saturation= intensity of colors. The lower the saturation is, the more the color is removed and turned to gray style. The higher the saturation, the more vibrant the colors will appear.
Hue=color. To change the hue of the picture is to shits the colors of the photo.
Saturation= intensity of colors. The lower the saturation is, the more the color is removed and turned to gray style. The higher the saturation, the more vibrant the colors will appear.
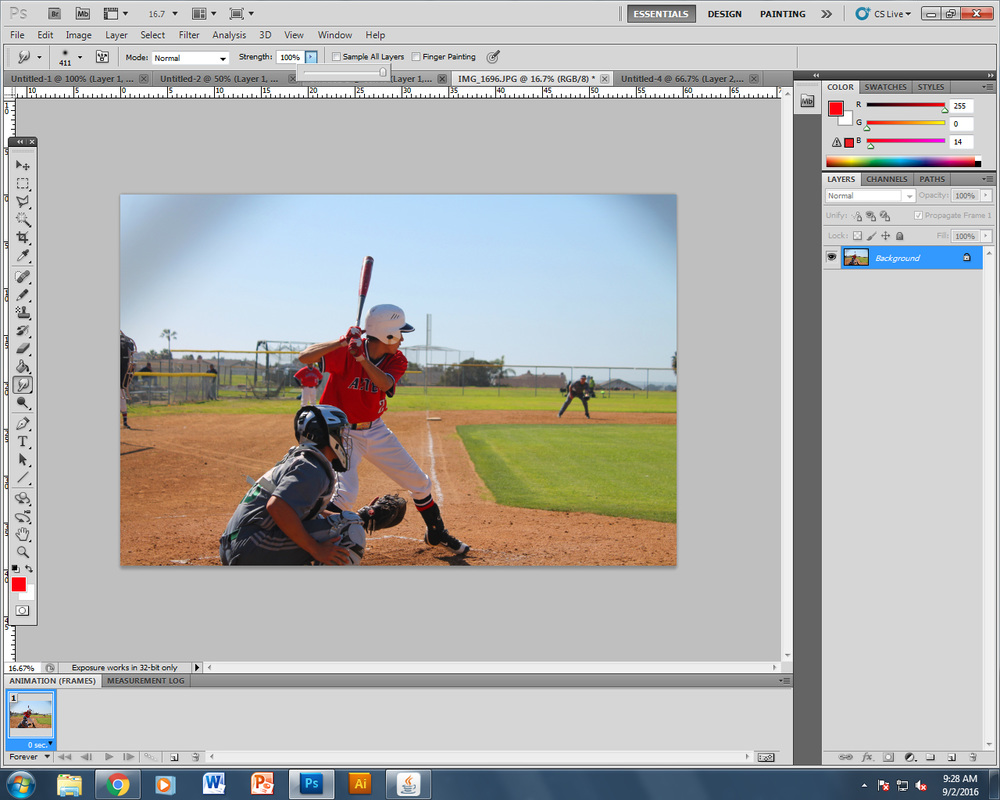
STEP 3: Removing shadows or unwanted blemished of a photo. If there is an unwanted shadow like the one on the photo above, select the "smudge" tool located on the toolbar on the left. It is the 14th tool on the list and looks like a pointing finger.
|

Adjust the settings to your liking. This tool is used like a paintbrush tool so the size can be changed along with the strength. If you only want to blend sharp edges of a photo or smooth out pixelation, set the strength to about 10-15%. If you need to make adjustments like removing the shadow on the photo above, the easiest way is to set the strength to 100%, make the brush as large as you'd like it and drag the tool from the solid color to the edge of the photo.
TIP: If you are having trouble making the brush move in a straight line, hold down the shift key while you drag the tool. |
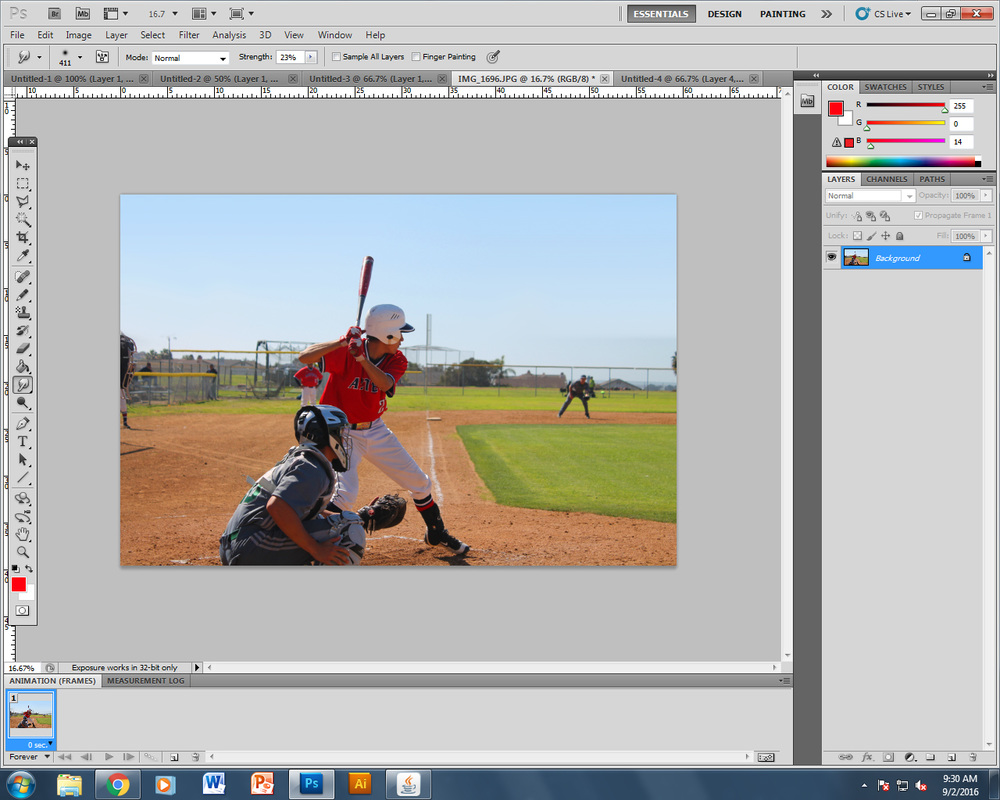
This method only works with areas where the blemish should be a solid color.
|

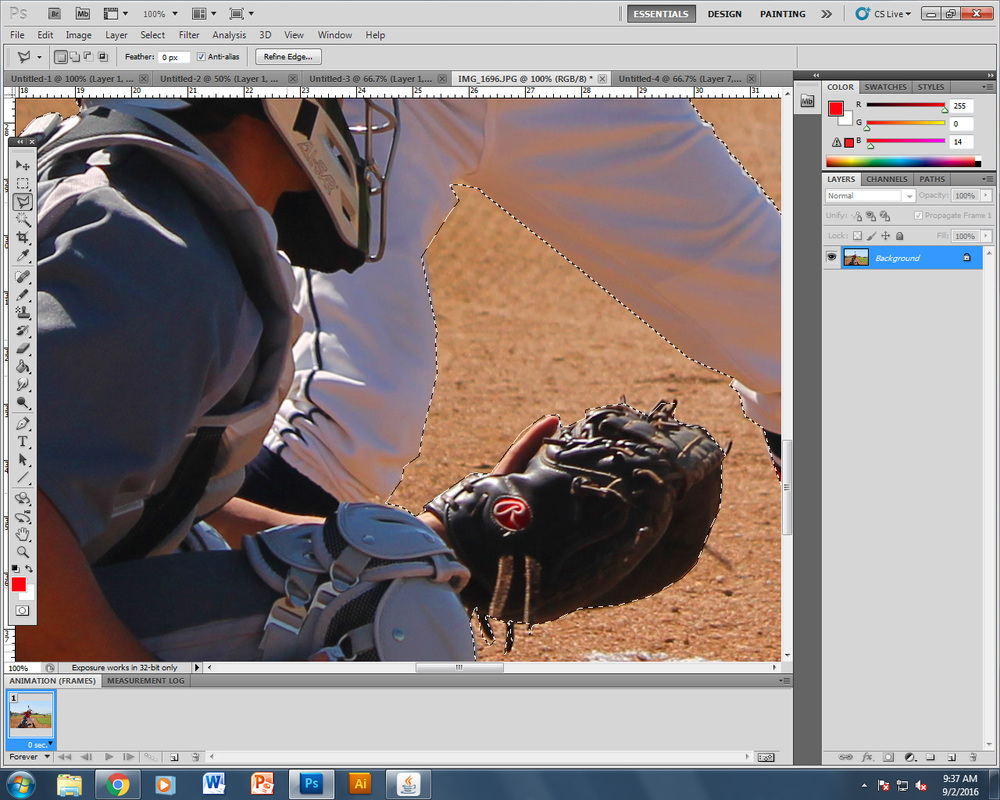
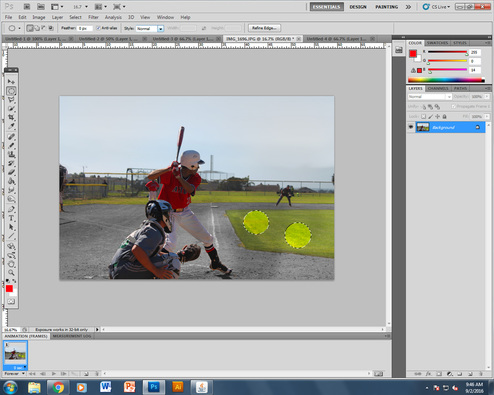
STEP 4: Color splash. There is a way to adjust the colors of only specific areas. To do this, select the wand tool located on the left toolbar and click the wanted area. As you can see in the photo above, it does not select the entire desired area since most pictures contain multiple pigments on a surface. To select the remaining part of the space, use the polygon lasso tool located on the left toolbar. It is the third tool on the list. If you just continue clicking the photo, it will deselect what you have already selected with the wand tool. To add to that area instead, hold down the shift key while clicking on the excess. The polygon tool selects an area, so to use it, you must outline the area you want to select then connect with your starting point.
|

If you accidentally select an area you didn't mean to, continue working for not. That can be fixed later.
|
Once you've selected the desired area, if you've accidentally selected too much of the picture, first you must select the inverse. To do this, look to the top toolbar and click Select > Inverse. Then use the polygon tool again, remember to hold down shift, and not select the area you want yo remove. Once you have corrected your mistake, remember to select the inverse again.
|
Now that you have the area you want to adjust selected, you can edit it as you please without the worry of altering other areas of the photo. You can brighten it, darken it, or remove the saturation to create a color splash photo.
|
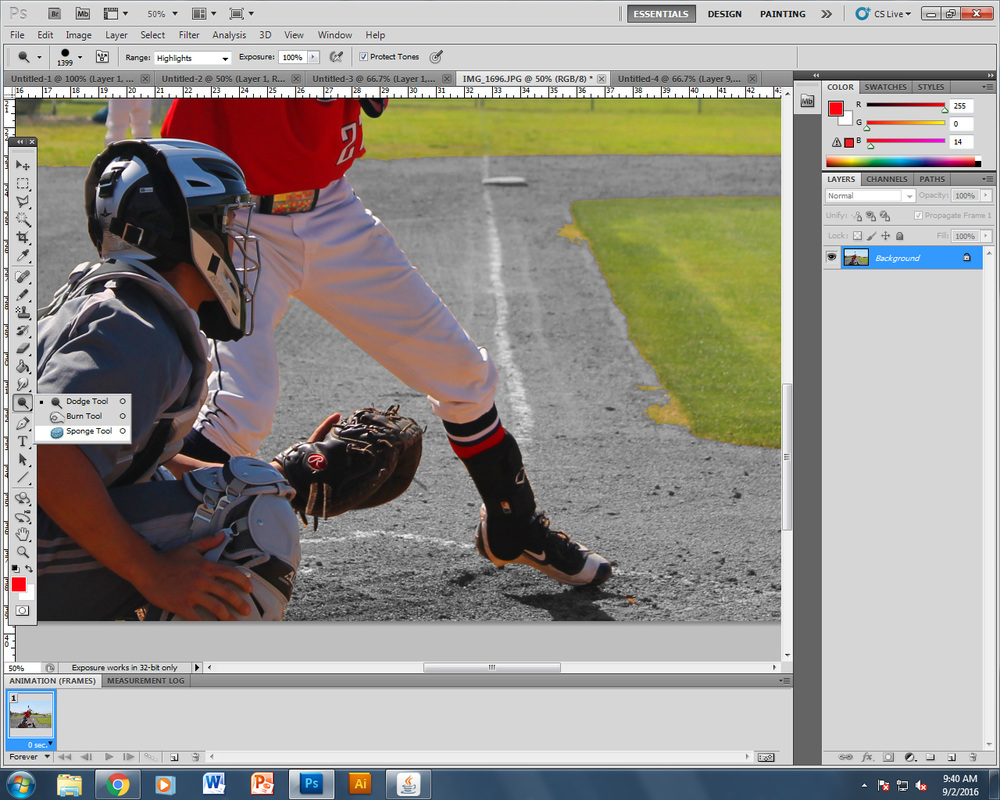
Other tools include the sponge tool, dodge tool, and burn tool. These are three important tools for color and brightness. These three tools are jointed together and located directly under the smudge tool. To view all three tools, right click on the icon.
|
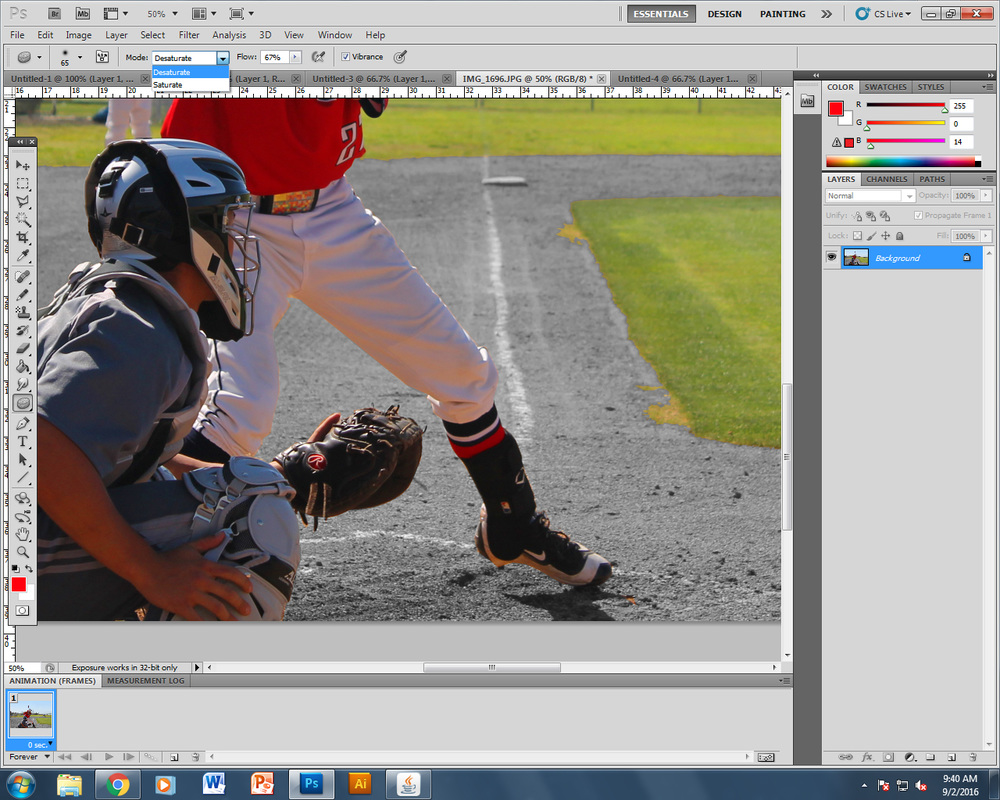
The first tool is the sponge tool. The sponge tool is a way to saturate (brighten color) or desaturate(remove color) from a photo. Once again, it is used much like a paintbrush. On the top toolbar, you can set the "mode" to either setting and adjust the strength as you please. This is a way to remove or brighten color from a small area.
|
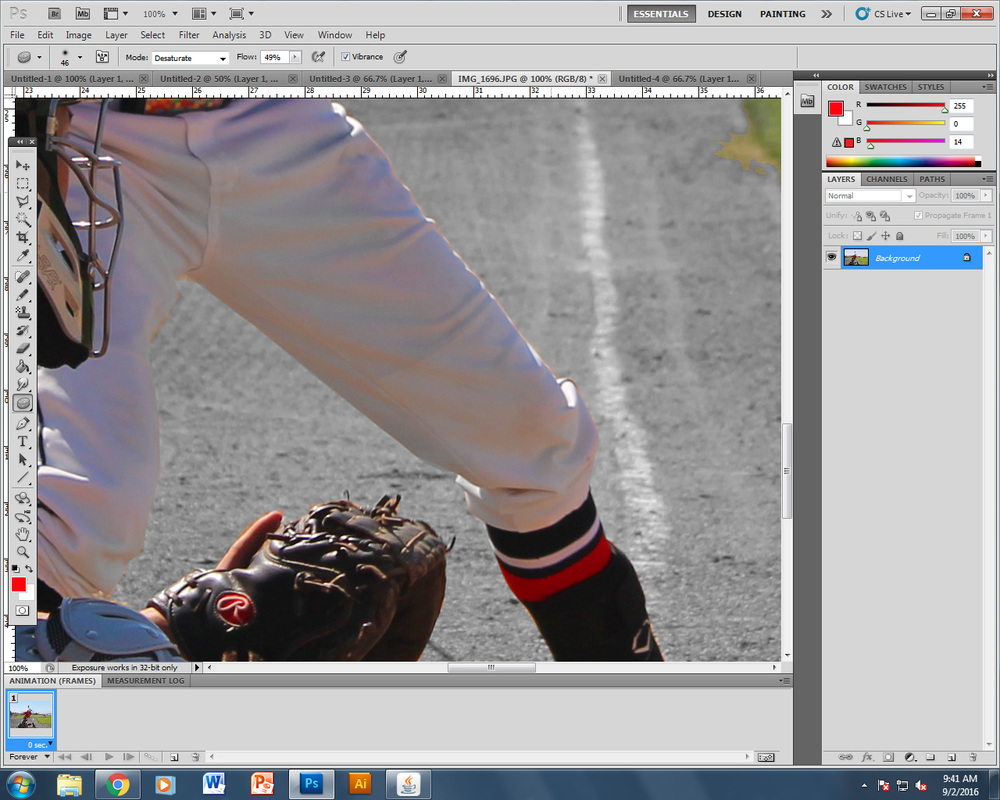
As you can see on the above photo, I used the sponge tool to desaturate the orange on the baseball uniform and blend the edges with the now gray background.
|

(above photo) I used the dodge tool and set the range to "highlights" in order to brighten areas of the photo (I did it messily so you can clearly see the effect the tool has. You can adjust the strength.
|
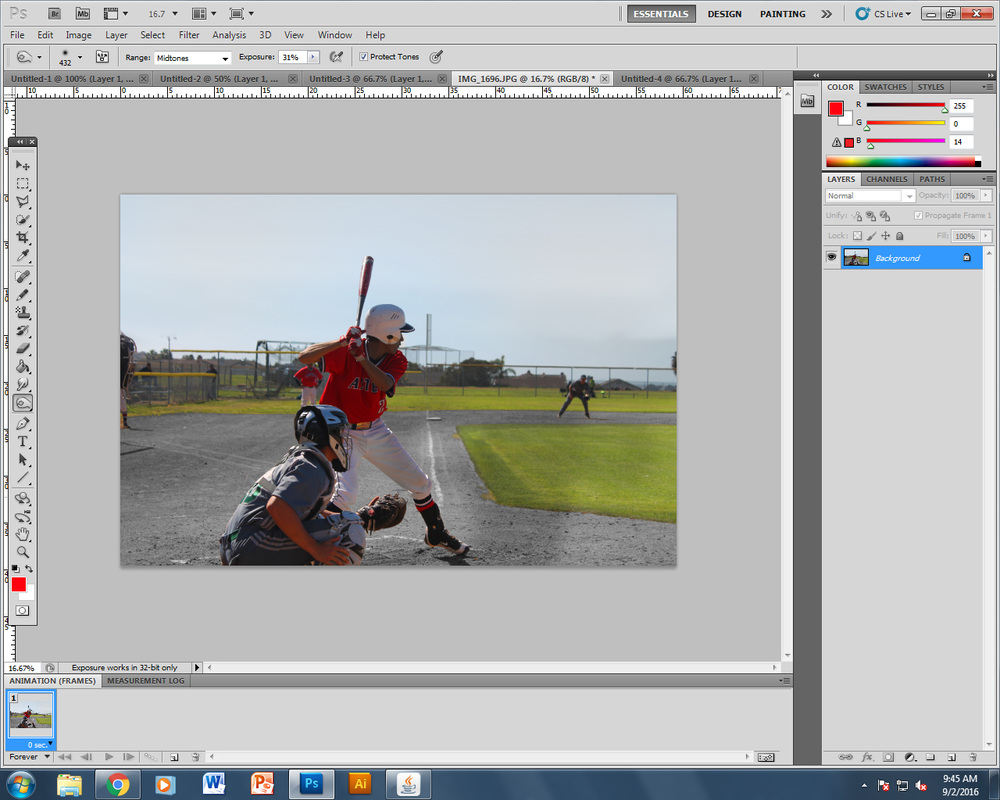
(above photo) I used the burn tool and set the range to "midtones" to darken areas of the photo.
|
|
Feel free to use other tools to select specific areas such as the "marquee tool" located on the left toolbar, second on the list which comes with different shapes if needed.
Remember to save the photo as a JPEG unless there are areas of the photo without a background. If there are areas without a background, remember to save the photo as a PNG and save the file as a Photoshop format if you have multiple layers you would like to be able to edit in the future. |
