How to add a background/photo from the internet
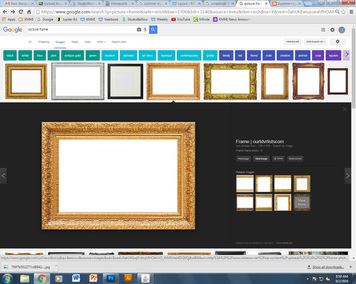
STEP 1: Find a picture from the internet and save the image.
|
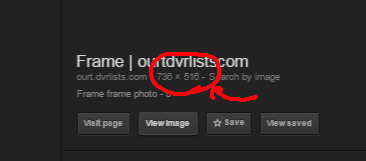
****NOTE: Make sure to keep an eye on the dimensions. The image must be at least 1500 pixels in length for a photo box and at least 3500 for a background. If the image is too small, you will need to resize it.
|
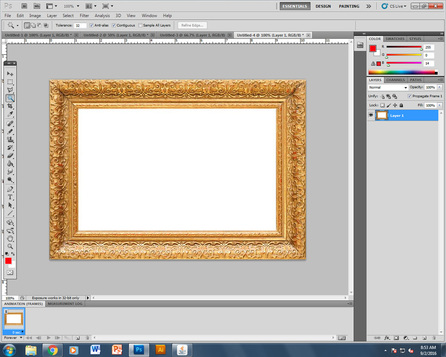
HOW TO REMOVE THE BACKDROP
|
|
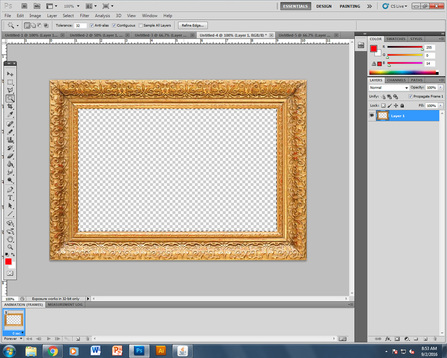
STEP 1: If the image has unwanted white space, remove it first by selecting the wand tool. The wand tool is located on the left toolbar and is the fourth one on the list. Select the tool. To remove unwanted white space first click on it with the wand tool and press the backspace on your keyboard. A grid will show indicating that there is no background in the space.
HOW TO RESIZE THE IMAGE
|
|
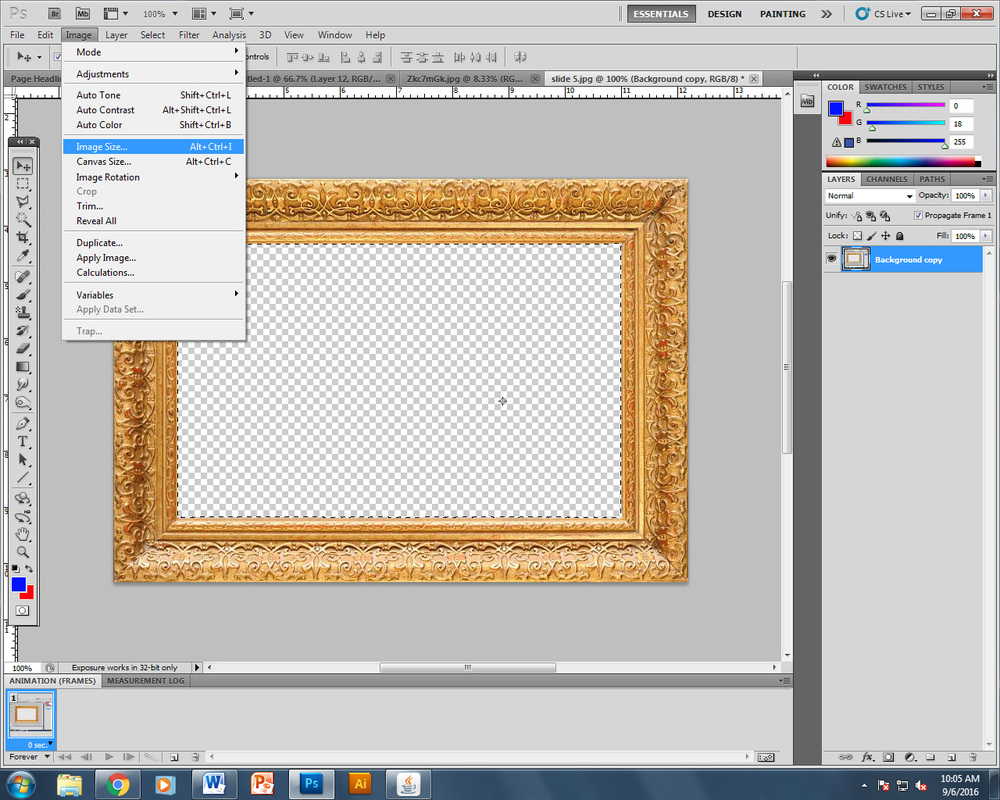
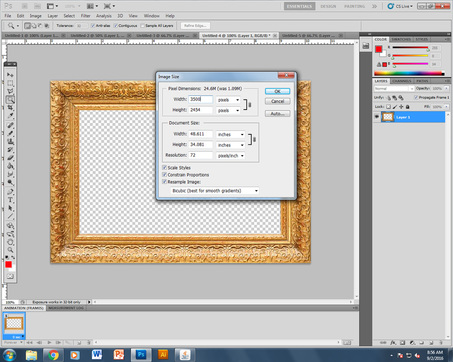
STEP 2: On the top toolbar, click Image > Image Size or use the shortcut Alt+Ctl+I to resize the image. Type in the desired length in the top left box for the width, making sure to keep the minimum size required for the photo to be large enough. Once you have typed in the desired amount of pixels, press ok.
HOW TO SHARPEN THE PHOTO TO ELIMINATE BLURRINESS

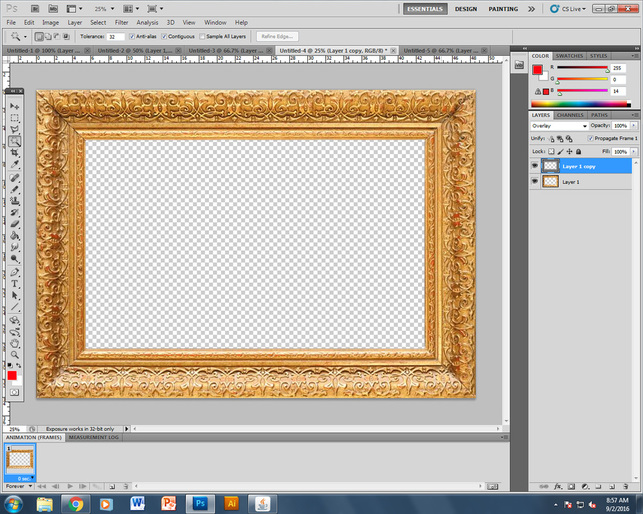
STEP 3: If the image had become blurry, that can be fixed. First duplicate the later. To do this, right click on the layer box on the right toolbar and select "duplicate layer"
|
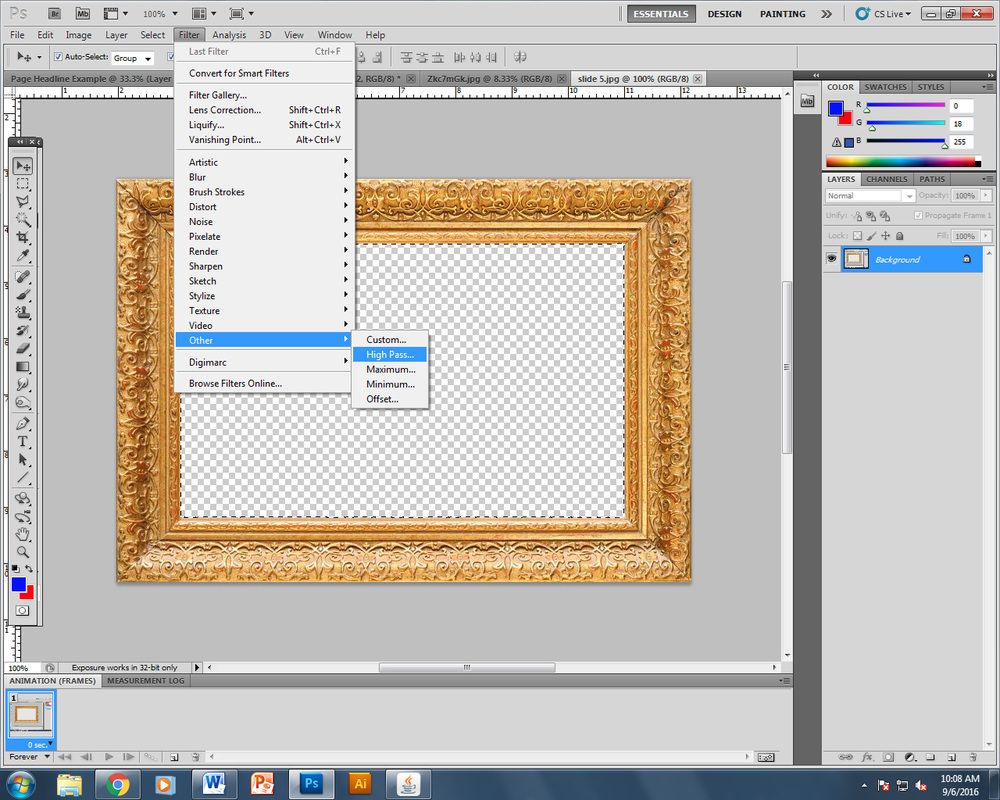
STEP 4: On the top toolbar, select Filter > Other > High Pass
|
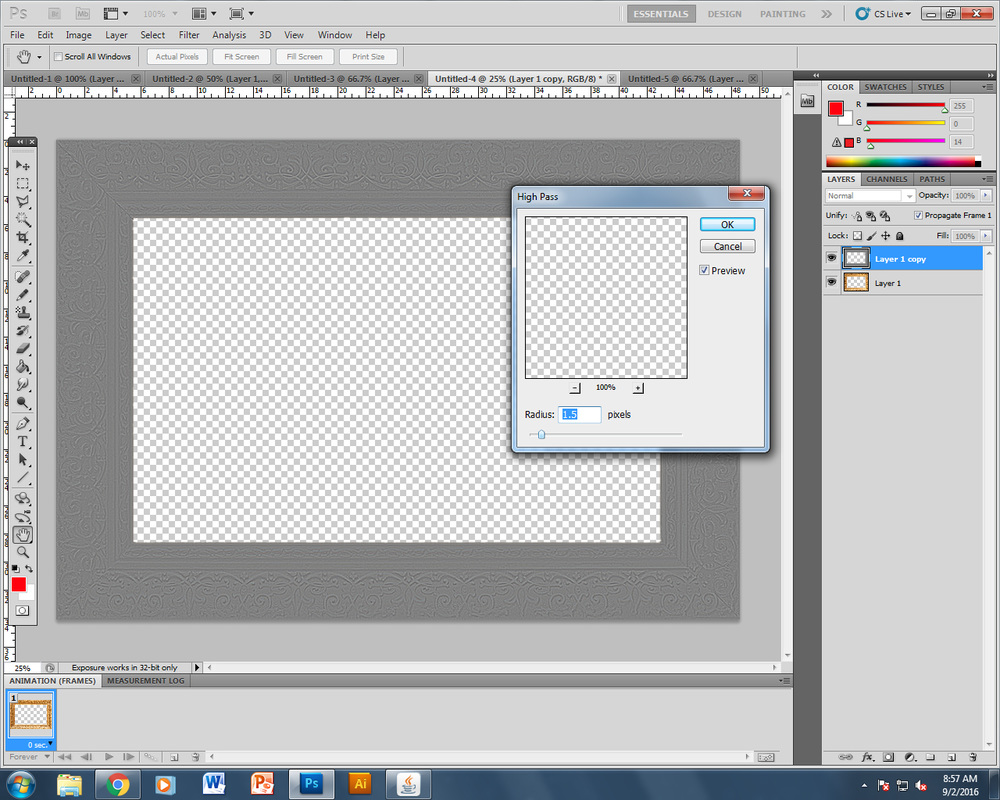
STEP 5: Adjust so that the image is grey but with the edges and details barely visible. This will allow you to sharpen the edges and fix the blurriness of the image. Hit ok.
|
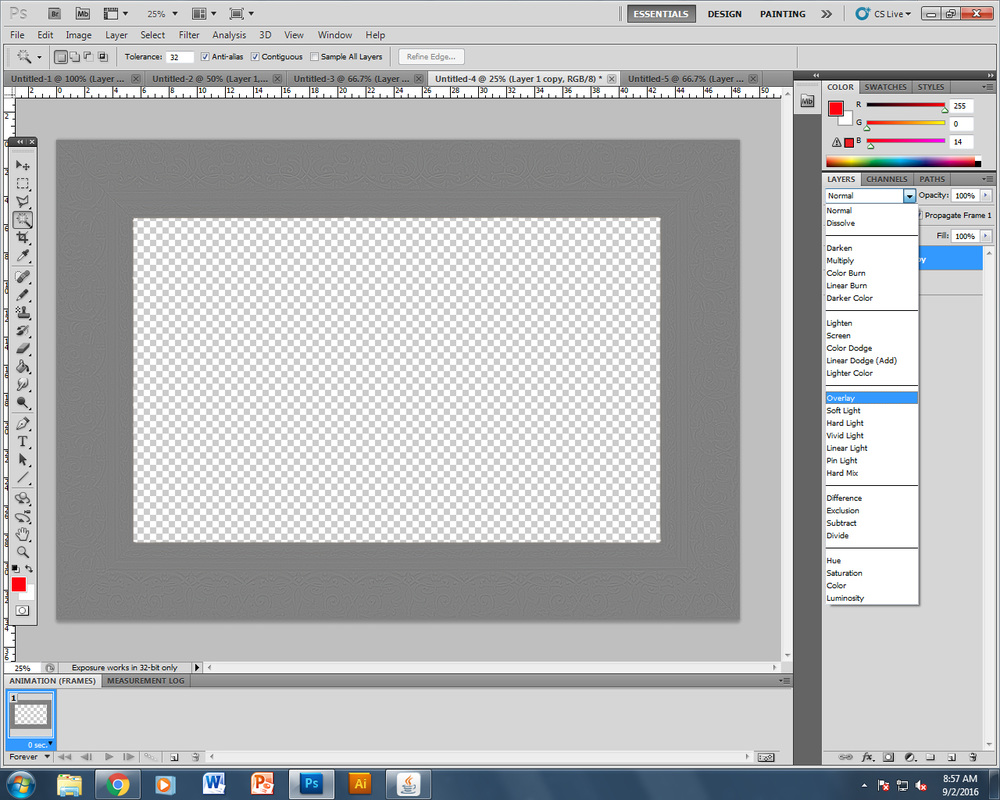
STEP 6: The image will now be grey. To fix this, on the right toolbar in the layers, there will be a box that says "normal". Click on the box and set the layer to "Overlay"
|
|
YOUR PICTURE IS COMPLETE. The picture should now look cleaner and sharper. Make sure to save your picture appropriately.
For a regular photo, save it as a JPEG If your photo does not have a background, save it as a PNG so that the blank space remains blank. If your photo has multiple layers that you would like to continue working on, save it as a regular "Photoshop" file Once you have saved your photo, upload it to balfour under the appropriate folder. |
